Arduino Icebreaker - make your girlfriend talk to you again!
Introduction
Once in a while you make your woman angry. So angry, she refuses to talk to you and even shows the middle finger instead. Here we can use technology to brake the ice and start the conversation again! I proudly present you the Ice breaker - a device, mediator, allowing you to make the angriest woman speak to you again :) "How?" - you ask. Simply - put the technology between you. Put your Arduino close to your girlfriend and type the question. Question will appear on the LCD and there will be only two possible answers - Yes or No. This will prevent you from having those nasty answers and dramatically improve the possibility to get at least some answers from your girlfriend :)
How to make it
What you need:
- LCD Keypad Shield;
- Arduino board;
- USB cable
- Arduino firmware
- Serial terminal application (PuTTY, for example )
Download the arduino firmware, open it and upload it using Arduino IDE.
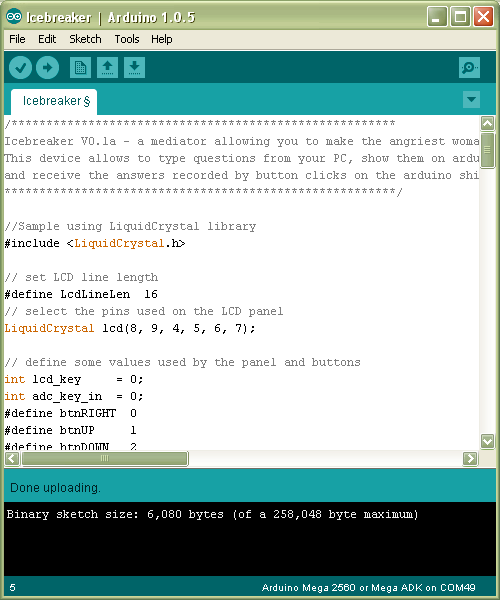
Open your Serial terminal application and make these configurations:
Serial line: the same COM port name as you used in Arduino IDE to write the firmware;
Speed:9600
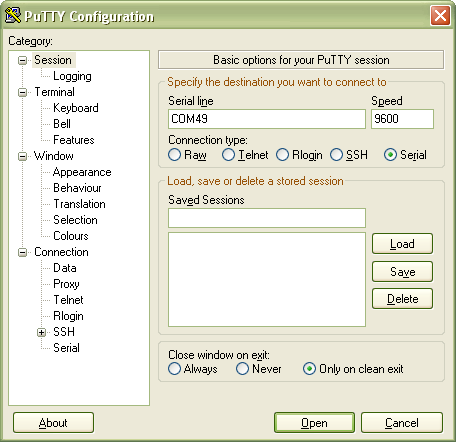
You are ready to give Arduino to your girl!
The chat
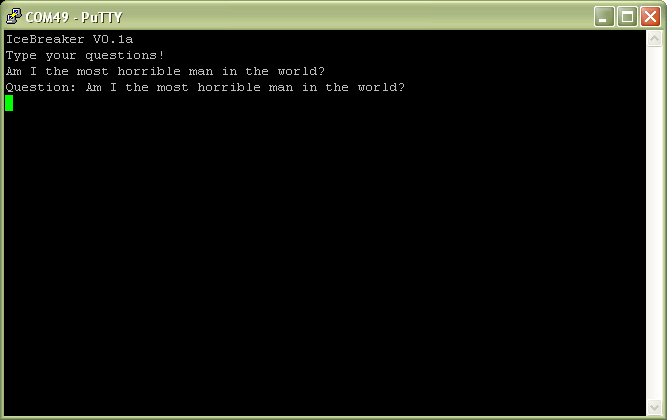
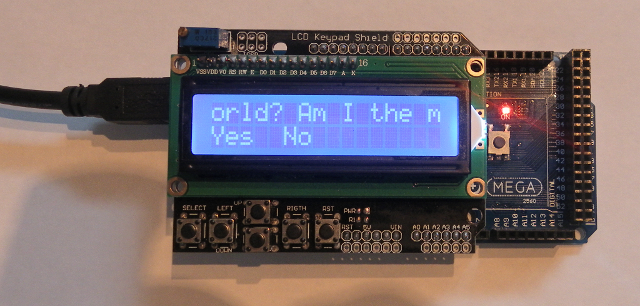
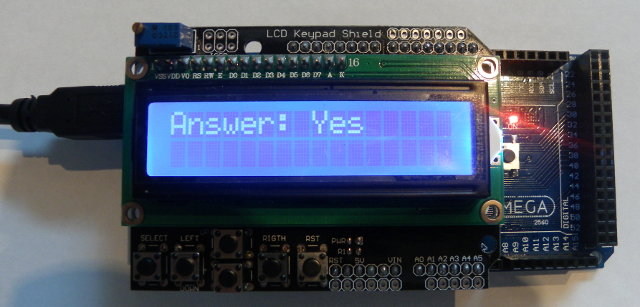
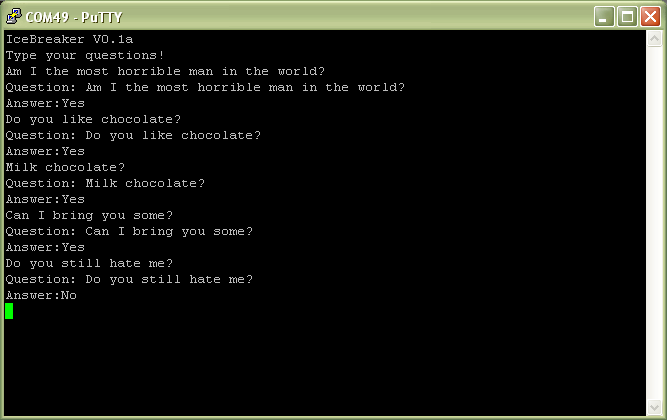
In my case it was easy - I bought her love back and waved away the anger with some chocolate. Be wise when generating the questions and your girl will talk to you again!
So how does the IceBreaker work?
Let's get a little bit more technical.
The IceBreaker is a simple example that shows how to make a code that does not waste microcontroller's CPU cycles staying in delay routines. This is done without off-the-shelf real time operating system or other similar libraries that take valuable space in microcontroller's flash memory and add unnecessary tasks to be handled by microcontroller. Yes, Arduino itself has libraries that take up space and give some additional functionality (in this case function millis()), but this function is easy to implement just by using one of the timers available in the microcontroller. To keep this example simple and to show just the basic concept, today I will use the functions provided by Arduino libraries.
The program consists of three main ingredients:
Initialization function (setup), Helping functions and main infinite loop (loop). The program flows as follows - the initialization function initializes the peripherals (such as inputs/outputs, LCD and serial communication). In the main loop helping functions are used to create the needed functionality.
Helping functions
There are two main helping functions:
collectQuestion. This function is waiting for the user to type the question that is then displayed on a screen. There is a loop that is finished when the maximum question length is reached or ENTER button is pressed.
displayQuestion. This function divides the question into smaller portions of text that can fit to the screen. Also, this function scrolls the text to be displayed. The tricky part of it - it does not have a loop to scroll the question on the screen. The main program loop is used instead. This gives us functionality that you can achieve by using a real-time operating system: you can have your microcontroller process multiple tasks at the same time. If we had a loop that displays the portion of the text, then shifts it by n symbols, waits for some period of time (in order for the text to be visible, not flicker at insane speeds), displays the new portion of the text ...We would probably use a delay function, which makes processor unable to process any other tasks during defined amount of miliseconds. This would make the whole application slow (since the microcontroller could process react to the buttons only after the while question has been scrolled).
The main loop
The main loop in this case works like a scheduler. It just executes the helping functions one by one. One thing to point out - it has a flavor of state machine and real-time operating system. First, it executes helping functions according to the state (waiting for answer or waiting for question ). Second, it prioritizes the tasks (it gives lower priority to display functions rather than button reading functions).
You can download the Arduino code here.
Prehistory and my ideas about Arduino
Before I was working only with bare microcontrollers, mounted on various development boards and my own custom designed PCB's. A week ago I had honor to participate in event called Introduction to Arduino programming, held by Makerspace of Stavanger . I brought a borrowed Arduino mega2560 board and some shields to learn how it works. I was impressed, even though being a conservative person I did not like the idea of Arduino at first.
To me it looked like it just ruins the image of electronics engineering and firmware development. I have seen and heard about many people who made a simple device with Arduino and presented themselves as electronics and programming gurus. Sadly, most of them did not have an idea how to make the same device with bare microcontrollers and other electronic components.
Receiving more and more job offers from various companies in Europe I am starting to see that there is a shortage of engineers and embedded developers. Usually those disciplines are thought to be very difficult, thus the interest of studying it is not as big as it should be. I think here Arduino comes for the rescue. It makes people more aware of electronics engineering, programming and gives more self confidence in these fields. However, using Arduino you learn the basics of the high level programming and engineering. You know how to join bigger blocks of software or circuits, but you do not know what is inside those blocks. I would very much like to fill this information gap in my further blog posts if you, my readers, showed me that you have at least a tiny interest.

Komentarai
Komentuoti